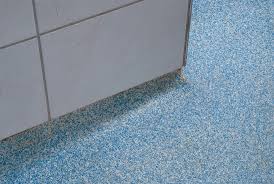
Below is the step wise method statement for Acrylic Flooring Installation.
Obtain necessary clearances and approvals from Engineers including MEP clearance. Selected working area should be barricaded to avoid accidents & damages.
Ensure the surface to receive the Acrylic surface will be thoroughly cleaned and it will be made free from any dust and loose lying debris. Set out surface layout, markings as per approved drawing with reference from grid line (Identify F.F.L by surveyor)
Standard Concrete installation
- Acid Etch with concrete preparered to be used
- Level out with court patch binder
- Apply Ti-coat as primer
- Apply 1 coat Acrylic Resurfacer
- Apply 3 coats fortified PlexiPave
Re-coat if needed or if any damage occurs during the construction stage. Remove any loose or flaking material. Repair any spalled areas or depressions with court Patch Binder
Apply 1 coat Acrylic Resurfacer (needed for courts that require extensive preparation). Recoat with 2-3 coats of Fortified PlexiPave (depending on surface wear and texture). Keep area barricaded and warning tape surrounding the area until dry.
Inspection request to be submitted after completion of works and ensure its approval. For more details please refer below supplier method statement.

