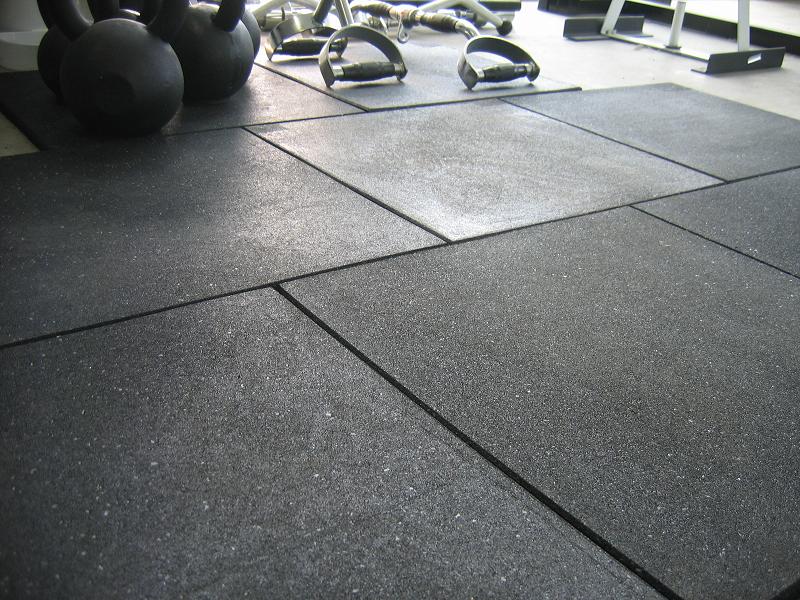
Below is given the method statement for installation of rubber flooring related to any type of project. Arrange the following instrument’s or equipment.
- Cutting knife
- Wood saw
- Vertical cutting saw with mixed cutting blades
- Carpenter’s line
- Notched spatula
- 900 angle
- Measuring tape
- 2 m screed bar
- 1 m long angle for cutting using the Knife
- Sander
Method Statement for Installation of Rubber Flooring
Before starting the site work obtain necessary clearances and approvals from other engineers including MEP clearance. Selected working area should be barricaded to avoid accidents & damages to people and the property.
Ensure the surface that is receiving the rubber flooring will be thoroughly cleaned and it will be made free from any dust and loose lying debris.
Check the surface of the pad, and if necessary polish it and leave it to dry for 24 hours. Unpack the tiles and leave them on a flat surface to regain their features.
Tiles to be stuck down, must be laid on stable, even, solid layer of 5cm screed, which is flat and dry. Use single- part solvent- free polyurethane adhesive only.
Apply tiles as per the recommended option i.e. by leaving a gap every 3 or 4 tiles to stop the joints from getting out of step by the end of row. The gaps can be filled in when installation is complete.
Atmospheric Condition to be considered and tiles should not be laid in the rain, or when there is too much humidity.
Ground for laying to be prepared properly by cleaning thoroughly and the surface should be polish if necessary to dry as per manufacturers recommendation.
Proper installation /cutting and laying of rubber tiles should be followed as per manufacturers recommendations.

