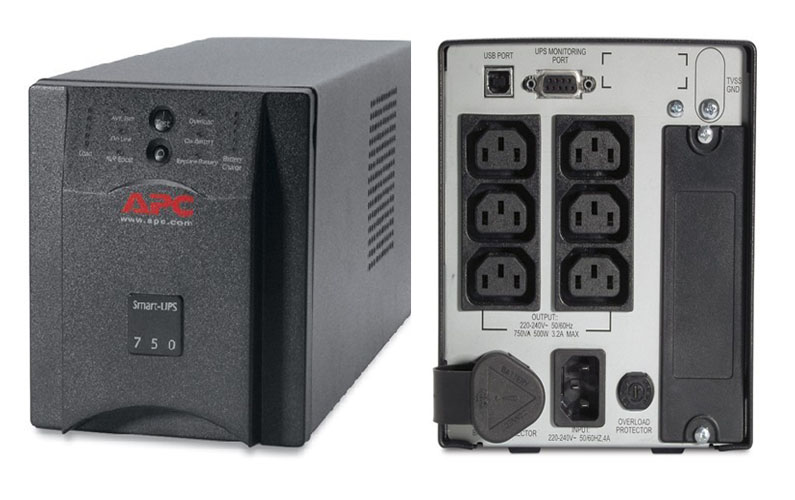
The UPS System located normally in the LV rooms supports critical telephone & data room sockets, central equipment in the BMS, Server and security rooms etc. for a period of 30 minutes until power is restored. The UPS system provides continuous, regulated AC power to the loads under normal and abnormal conditions, including loss of the utility AC power.
The purpose of this procedure is to define the step by step method to implement the correct practices for the precommissioning & commissioning of “UPS System”through the guidelines contained herein so as to ensure that the job execution complies with the project requirements and serves the intended function to satisfactory level.
Required Tools
- Portable Hand tools
- Step Ladder
- Multimeter
- Megger
Precommissioning Procedure for UPS System
- Ensure that the UPS System installation is complete and mechanical completion is approved & all comments on the installation are incorporated.
- Ensure that no damage has occurred between mechanical completion & precommissioning.
- Replace damaged components, if any
- Ensure the installation is in line with the approved shop drawings, local authority codes & manufacturer’s recommendations.
- Verify the following as regards to wiring & installation:
– Check ground connection
– Check tightness of power parts
– Check the setting of electronic board
– Check all power fuses for continuity
– Check all switches / breakers are in open position
– Check the system is interfaced with the BMS

Commissioning Procedure for UPS System
- Ensure that all the precommissioning checks are carried out successfully.
- Ensure that the customer support representative from the equipment manufacturer is present to check & start the UPS units.
Pre-Power checks:
– Verify that all UPS isolators & battery breaker are open
– Verify that correct voltage (415 VAC) is selected on power supply transformers T2 & T3.
– Check & verify the UPS voltage output.
– Verify that control switches (Q1,Q2 & Q3) on UPS logic board are open.
Rectifier Section
– Apply mains voltage to input & record.
– Close input isolator
– Set Q3 on UPS logic board to ON position
– Check the rectifier output & record VDC (if necessary adjust by R21 on rectifier logic board)
– Check battery voltage & polarity
– Check battery breaker
Inverter Section
– Set the inverter switch Q2 on UPS logic board to ON position, the inverter will ramp-up to nominal voltage.
– Record the output voltage & frequency Output switch section
– Close by-pass isolator
– Set Q1 on UPS logic board to ON position
– Close output isolator
– Measure & record the output voltage
UPS function test
- Simulate a power black-out by switching off the input isolator, the inverter will run on batteries & following messages will be displayed: ‘Battery on load’
- Close the input isolator
- Turn off the inverter, the load will be transferred to by-pass.
- Turn ON the inverter & verify that the load will be transferred automatically to the inverter.
- Ensure that proper cooling is taking place
Alarms Test
The following alarms shall be checked
Inverter OFF / load on by pass
Battery CB open
Output switch open
By-pass switch open
Rectifier OFF
UPS on maintenance by-pass
Check & verify the mimic diagram functions finally.
Attachments:
- Precommissioning of UPS System
- Commissioning of UPS System
- Pre-Commissiong & Commissioning plan for Electrical System
- Risk Assesment
