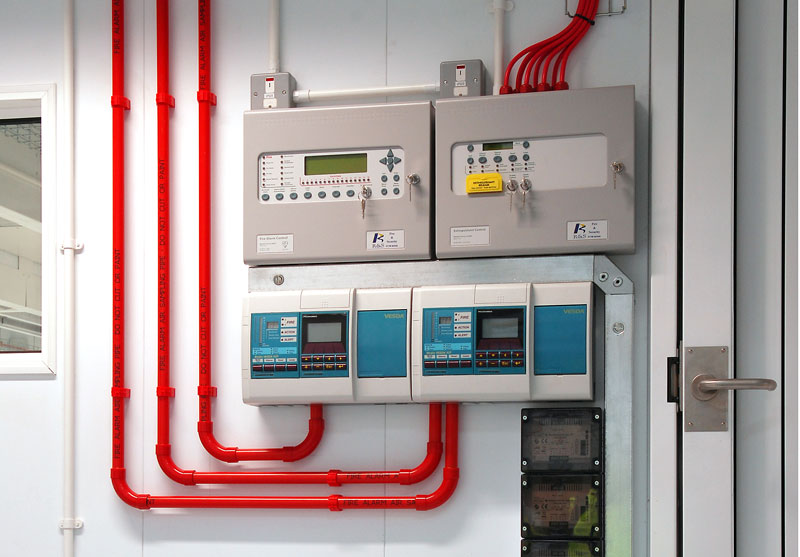
List of tools required for VESDA system testing and commissioning which should be arranged before starting the work.
- Portable Hand tools
- Step Ladder
- Insulation Resistance Tester
- Continuity tester
Precommissioning Procedure for VESDA System
Check the location of installation of the panel is as per the manufacturer’s recommendation & approved shop drawings. Check the mounting height of the panel is as per manufacturer’s recommendation & approved shop drawings.
Check all the wiring connections are tight & secure. Check the routing of the conduits are as per the approved shop drawings & manufacturer’s recommendations.
Check the joints are properly glued & the same are sealed & bonded to eliminate unwanted air leaks. Check the pipe joints at the inlet ports of the scanner are not glued but firmly fitted into the air inlet socket.
Check the drilling sensing holes is completed by the manufacturer’s representative. Repair / replace damaged components, if any.
Commissioning Procedure for VESDA System
- Ensure that all the precommissioning checks are carried out successfully.
- Power up the system : The aspirator starts up & air is felt flowing out of the exhaust port and the name VESDA will appear on the LCD screen.

- Isolate the wiring connection to the solenoid valve
- Induce a smoke signal
- Check the operation of bell in the first stage
- Check the operation of flasher in the second stage
- Check the fire signal is conveyed to the fire alarm system & then to the WINMAG system
- Check the transmission of power supply to operate the solenoid valve.
- Reconnect the wiring connection to the solenoid valve after successful testing
Attachments:
- Precommissioning check sheet for VESDA System
- Commissioning check sheet for VESDA System
- Risk Assesment
