
The purpose of generating this plumbing method statement is to define the procedure step by step to implement the correct practices for domestic water supply pipe laying (Hot & Cold) through the guidelines contained herein so as to ensure that the job execution complies with the project requirements and serves the intended function to satisfactory level.
This method statement also refers to various work procedures contained within project control documents, which explains and covers the installation of domestic water supply pipe work.
Hot & Cold water supply piping material shall be as per approved material submittals.
Mandatory Tools Material & Equipment
Portable Hand tools
Portable Drill machines
Solvent for uPVC joints
Polypropylene welding machine / Electrofusion machine
Hot water piping:
PEX : All concealed Hot water piping
PPR: All piping up to 4 inches
Copper: All piping above 4 inches
Cold water piping:
PEX : All concealed cold water piping
PPR: All piping up to 4 inches
UPVC(ClassE-3505): All piping above 4 inches.
Material Handling & Storage
On receipt of Domestic water pipes & fittings , the materials shall be handled & stored in line with the following procedure:
Pipes will be stacked on a flat surface free from sharp projections, stones or other objects likely to caused point loading or pipe deformation.
The storage area shall be kept in proper level, so that the stacked pipes may be uniformly supported throughout their length.
Pipes will not be dropped on hard surfaces and will not be dragged along the ground.
Wherever possible the loading and unloading of pipes will be carried out manually by hand.
If mechanical lifting equipment is used, ensure no metallic slings, hooks or chains will be used in direct contact with the pipe. Rope or nylon belt sling will be preferred which will not damage or cut the pipe surface.
Pipe of different sizes or wall thickness will be stored separately or where this is not possible, those with larger diameters and / or thicker walls will be placed at the bottom of the stack.
The stacks will be protected from direct sunlight by covering with tarpaulin sheets.
All the pipe fittings will stored in the boxes as supplied by the fittings manufacturer.
Water Supply Piping Method of Laying
HOT WATER SUPPLY PIPES (PPR) – Area of installation : All piping up to 4 inches
All installation shall be made as per approved shop drawings.
Approved polypropylene pipes, fittings and valves shall be used for installation.
Prior to installation the pipes and fittings shall be cleaned properly.
All supports shall be installed ensuring correct alignment of pipes and location as per manufacturer recommendation.
UPVC(class-E to BS 3505) sleeve shall be provided wherever water supply pipes pass through walls, slabs etc. Annular space between pipe and sleeve shall be filled with rock wool and both end shall be sealed with waterproof or fireproof sealant as specified.
Electrofusion Jointing Procedure
In order to make proper fusion joint by using electrofusion welding machine, the pipe shall be cut perpendicular to the axis and the cut edge shall be smoothed off from any sharp edges.
The depth of the socket shall be marked on the pipe as per manufacturer’s recommendation.
This mark shall be used as a reference to indicate how deeply the part of the pipe penetrate into the fitting.
Once the pipe and the fitting / piece are ready and the heating element reaches the set temperature, the fitting process shall be started.
The pipe should be quickly & firmly pushed into the bush up to the mark, while the fitting is slipped over the spindle.
During this operation the pipe and the fitting must be held firmly without any turning movement.
The surfaces of the pieces to be joined should be heated as per the recommendation of supplier / manufacturer’s fusion welding parameters for polypropylene pipes.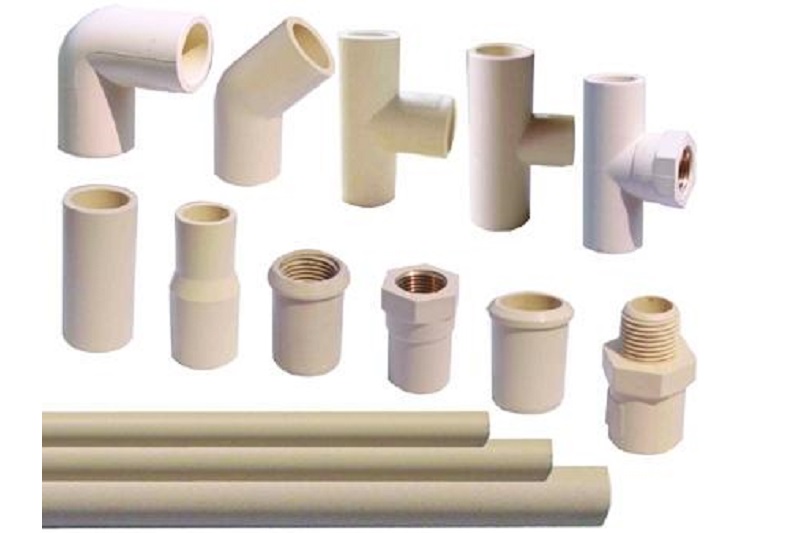
After the specified time the pieces are withdrawn from the heating element & immediately joined without any turning movement.
Pipe shall be inserted up to the mark, i.e. right up to the bottom of the socket & the two pieces must be held together for the heating time given above.
The welded joint should not be stressed until the cooling time has elapsed.
After each welding operation, the spindle and bushing of the heating element shall be thoroughly cleaned.
Provision for expansion & contraction such as expansion bellows, loops will be provided as required and as per approved drawings.
Necessary anchor / sliding supports shall be provided as required at site to accommodate the expansion / contraction of the system.
Drain valves shall be installed in the lowest point & Air Vents shall be installed in the highest point as per requirement at site during pipe installation.
Water hammer arresters shall be installed as per approved shop drawings. (Refer to stress analysis on water supply system to consider all necessary measures to ensure that the system is water hammer free).
After getting approval for installation of PPR pipe works, the system will be tested @ 8 bar for 6 hours.
Incase any leak or drop in test pressure, the respective pipe work shall be rectified and retested.
Method of Hot Water Supply Copper Pipe Installation
Area of installation : All piping above 4 inches
The routing of the pipes shall be as per approved shop drawings / specifications.
Pipes shall be supported using approved clamps in locations shown on the shop drawings.
The joining of the pipes shall be using oxy-acetylene brazing & also using flanged fittings as applicable.
Two ends to be brazed shall be cut using pipe cutter & the burrs shall be removed.
Upon completion of brazing, the joints shall be allowed to cool for few minutes.
All straight length of pipes shall be insulated during installation.
Upon completion of installation of hot water pipe work / section of pipework, the same shall be hydro pressure tested at 8 bar pressure for 6 hrs.
Upon successful pressure test, the joints of the pipes shall be insulated using approved insulating materials.
PEX Piping Installation Method Statement
Area of installation : All concealed piping
All installation shall be made as per approved shop drawings / specification.
Approved Cross Linked Poly Ethylene pipes, fittings and valves shall be used for concealed installations.
Prior to installation the PEX pipes and fittings shall be cleaned properly.
The routing of the pipes shall be marked on the wall /slab & the necessary chasing shall be done by the civil contractor.
Pipes shall be installed in these grooves in the wall / slab using supports.
Upon installation of the piping, the same shall be pressure tested @ 8 bar for 6 Hrs.
Upon successful completion of pressure test, the pipes shall be concealed by main contractor.
Laying of Cold Water Supply Pipes (Class E 3505)
Area of installation: All piping
All water supply piping installation will be made as per approved drawings / specifications.
Approved UPVC pipes Class-E-3505, fittings and valves shall be used for installation of cold Water Supply.
All UPVC Class-E-3505, pipes shall be connected using solvent cement joints.
Prior to installation the pipes and fittings shall be cleaned properly using the cleaner recommended by the manufacturer.
The mating surfaces shall be cleaned again using the cleaning agent.
Once the mating surfaces are thoroughly clean & dry, the bonding solvent cement shall be applied on both the mating surfaces.
After the application of the solvent the joint shall be made without any turning movement.
The joint shall be left undisturbed for 5 minutes prior to proceeding with further works on the piping.
All supports shall be installed ensuring correct alignment of pipes and location as per manufacturer recommendation.
UPVC (Class-E to BS 3505) sleeve shall be provided wherever water supply pipes pass through walls, slabs etc.
Annular space between pipe and sleeve shall be filled with rock wool and both end shall be sealed with waterproof or fireproof sealant as specified.
After getting approval for installation of domestic water supply pipe works, the system will be pressure tested at 8 bar pressure for six hours.
In case any leak or drop in test pressure has been revealed, the respective pipe work shall be rectified and retested.
Inspection Checklist for Water Supply Piping
Check that relevant MIR & Shop drawing are approved.
Mark the routing as per approved drawing or as per condition on site.
Check the supports are properly fixed as per approved drawings.
Check the identification of the services pipes.
Check the accessories, valves, flexible connector, water meter are properly installed as per approved drawing.
Check the schedule of pipes that installed are correct as per approved drawing.
Check the accessibility of the services for maintenance.
Hydrostatic testing of the system, 1.5 times working pressure for 2 hours.
Check the possible leakage
Attachments
Risk Assessment
Inspection and test plan
Inspection Checklist